How to Add a New Form via Form Builder?
Overview:
Form Builder enables the users to create the client on boarding forms from scratch, tailored to their requirements. You can easily design a form by adding sections, subsections, fields, and groups to it.
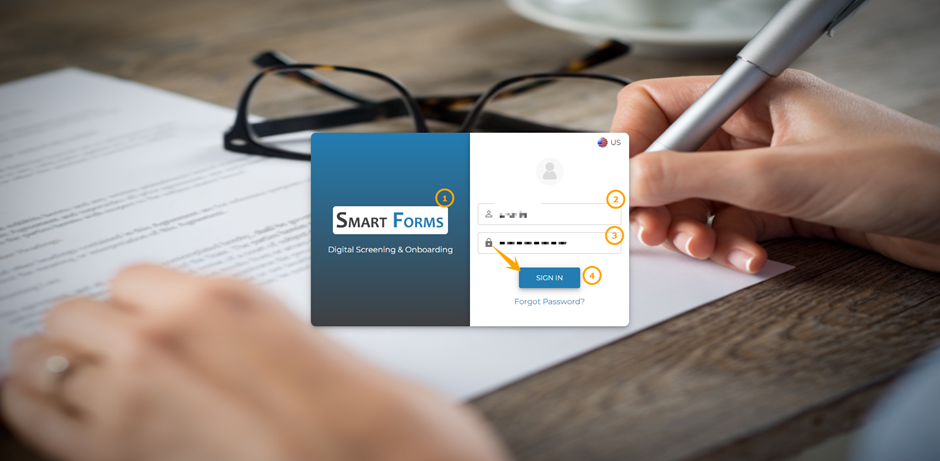
Step 1: Log in to Smart Form.
1: Open the Smart Form application.
2: Enter Registered Email Address.
3: Enter Password.
4: Click Sign In.
Step 2: Adding a Form.
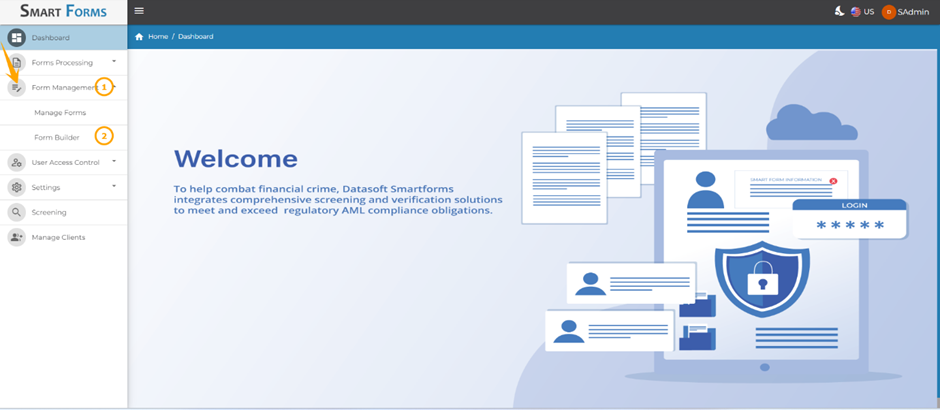
1.Navigate to Form Management from the side menu. Click on Expand Icon.
2: Click on Form Builder.
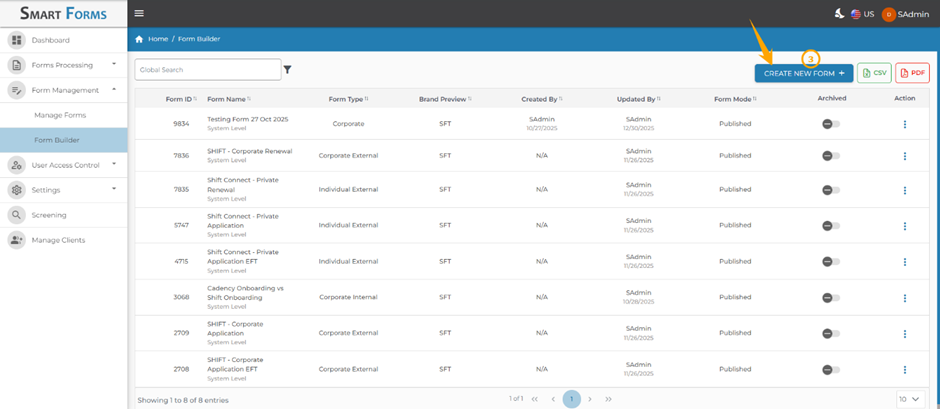
3: Click the Create New Form button to start building a new form.
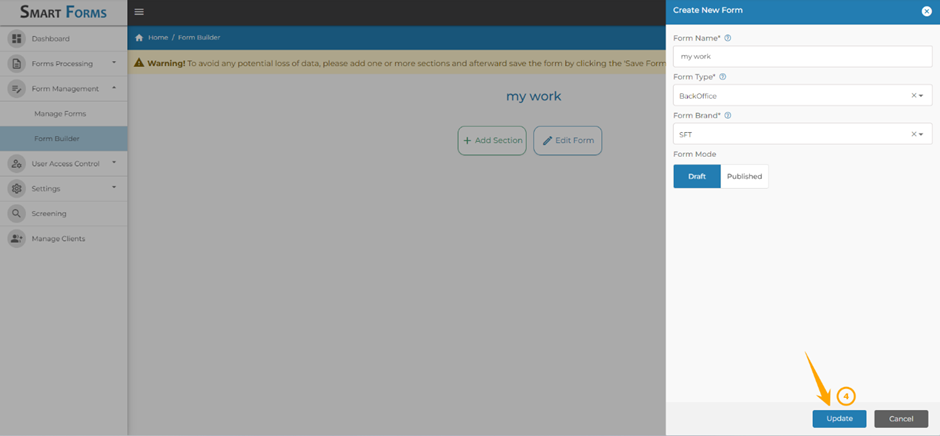
4: Enter the Form Name.
5: Select the Form Type from the drop-down menu. The following form types will be available for selection.
a. Individual: The form will be used in on boarding the individual clients.
b. Corporate:: The form will be used in on boarding the corporate client.
c. On boarding: The form will be used in on boarding the affiliates or partners.
6: Select the Form Brand from the drop-down menu.
7: Select the From Mode.
a.Draft: save changes without publishing the form.
.b.Published:: Make the form live and available for use.
8: Click the Add Button to create the form.
Note: Draft forms can be edited in the Form Builder, but they will only appear in Manage Forms after being published and cannot be reverted back to draft once published.

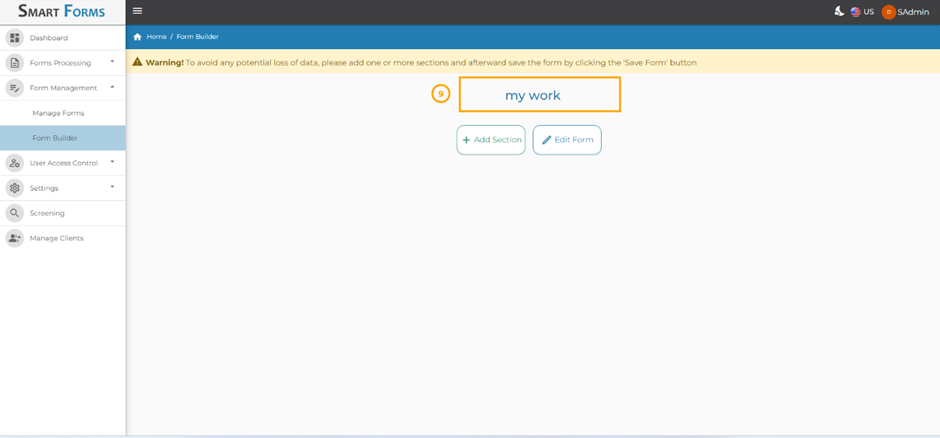
9: The form has been successfully added to the Form Builder.
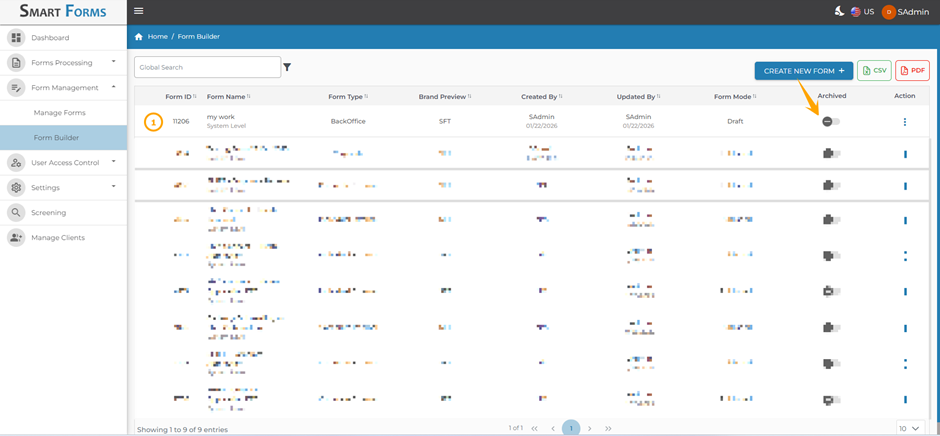
10: The form created above will appear on the main grid.
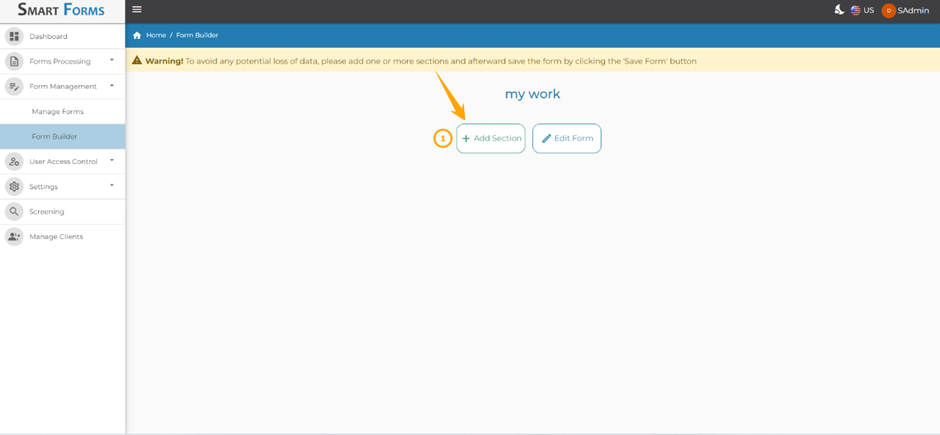
Step 3: Adding section to the Form.
1: To add sections to the form, follow How to Create Sections as a complete guide for adding sections to the form.
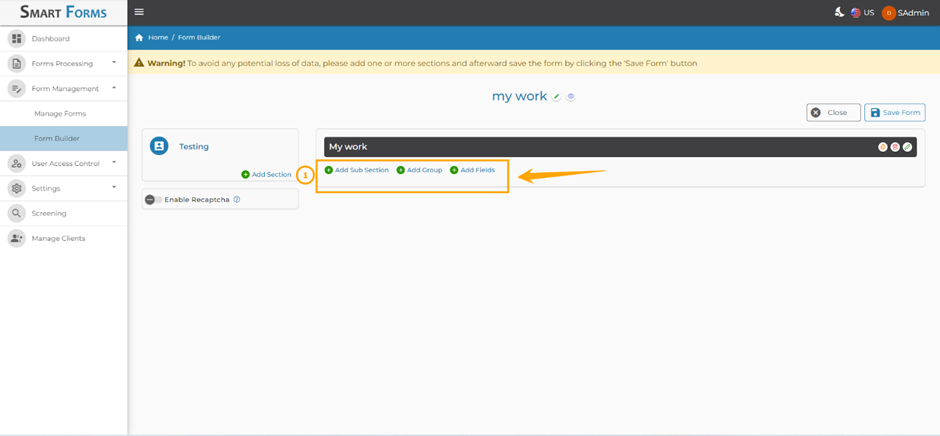
Step 4: Adding Sub-Sections, Group and Fields to the Form.
1: The users can also add sub-sections, groups, and fields to the form.
a. Follow How to Add Sub-Section as a complete guide to add the sub-sections.
b. Follow How to Add Group as a complete guide to add the groups.
c. Follow How to Add Fields as a complete guide to add the Fields.
Step 5: Archiving the Form.
1: To archive a form, turn on the Archived toggle against the respective form. After this, the form will no longer be visible in the Manage Forms module.
Note: User can archive the forms that are no longer in use. After turning on the Achieved toggle, the respective form will be removed from the Manage Forms modules.
Step 6: Editing the Form.
To make changes to an existing form, follow the below steps:
1: To edit a form, click on the Ellipsis icon.
2: Navigate to Edit icon against the respective form.
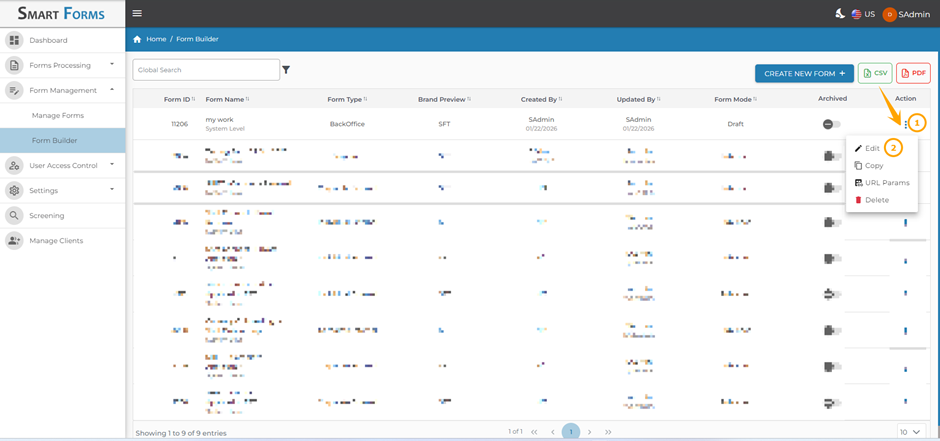
3: Click on the Edit Form.
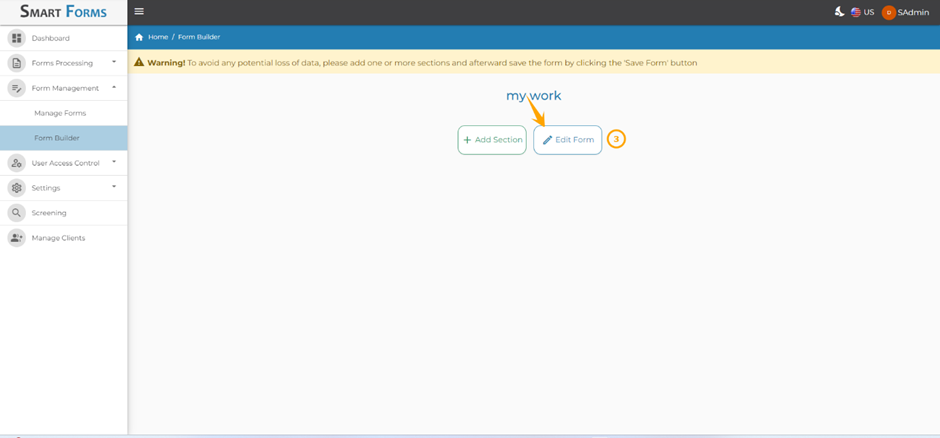
The form will be opened for editing, where you can make the preferred changes.
- Click on the Update button after making the changes.
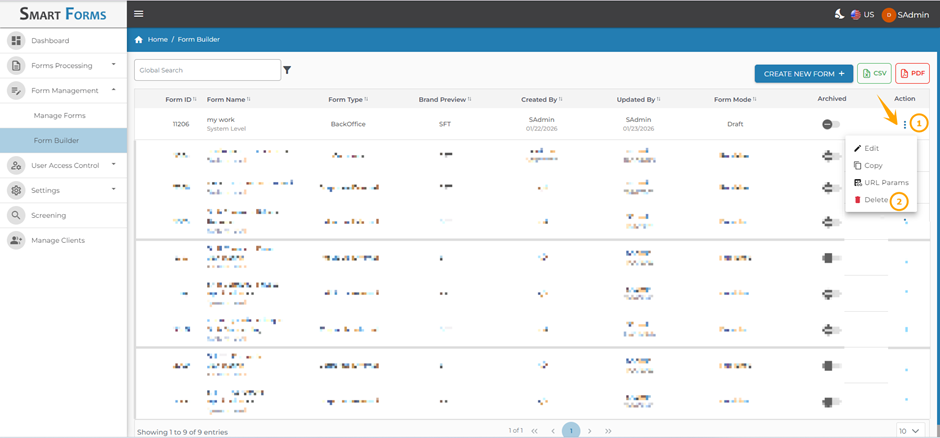
Step 7: Deleting the Form.
1: To delete a form, click on the Ellipsis icon.
2: Navigate to Delete icon against the respective form.
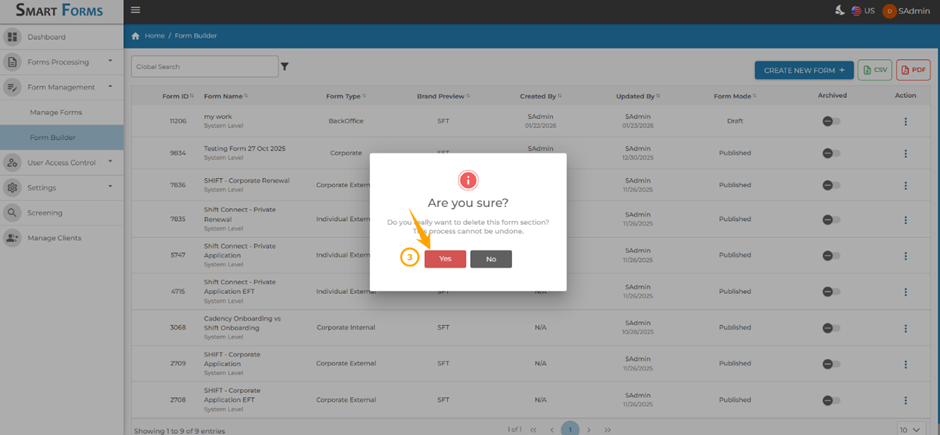
3: A pop-up window will appear, click on the Yes button to confirm the deletion process.
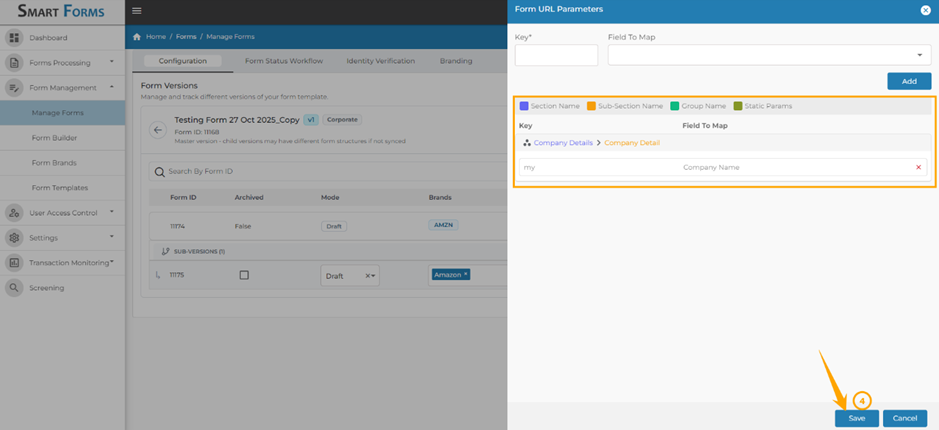
Step 8: URL Params.
1: Enter Key.
2: Select Field to Map from drop-down menu.
3: Click on Add.
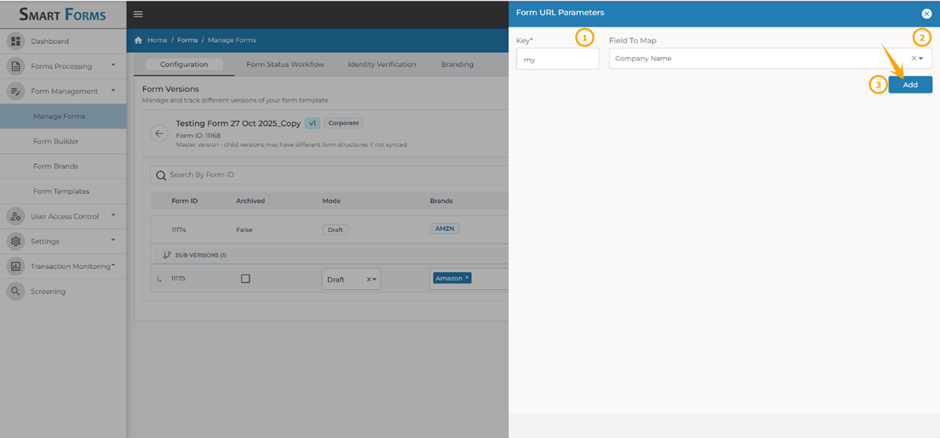
4: Click on Save.
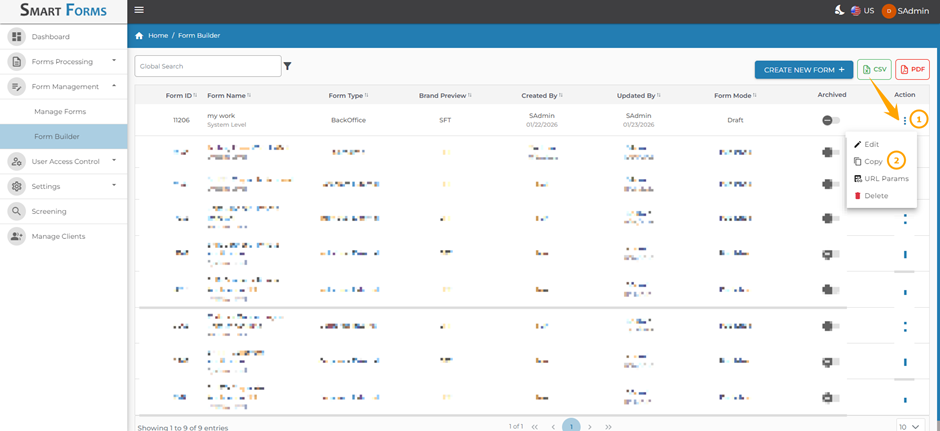
Step 9: Copy the Form.
1: To copy a form, click on the Ellipsis icon.
2: Navigate to Copy icon against the respective form.
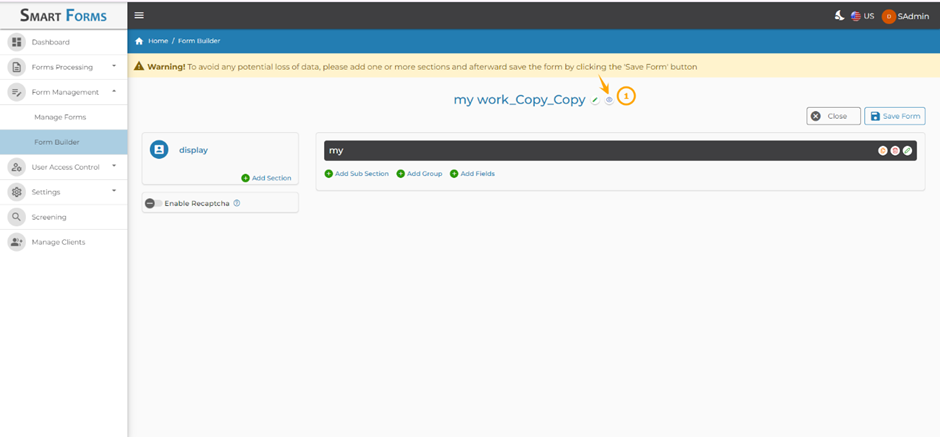
Step 10: Previewing the Form.
1: To preview form by clicking on the Preview Form icon.
Updated 5 days ago